First you obtain an installation file. You can obtain the installation file for the Survey module from the Survey project page on DotNetNuke.com.

When you download the file you can see that it is in the form of a ".zip" file.

Upload The Survey Module
While logged into the DotNetNuke installation as the Host account, select Module Definitions from the Host menu.

Then select Upload New Module.

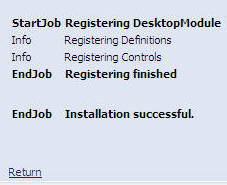
From the File Upload page, navigate to the ".zip" file that you downloaded and click the Upload New File link.

The module will upload...

When you view the installed modules list (Host > Module Definitions), you will now see the Survey module.

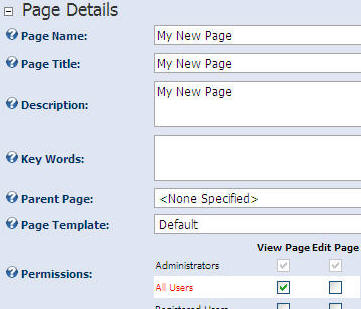
Next you will create a page to place the module on. On the Administrator control panel, click the Add link under the Page Functions section.

Enter details for the page, ensuring that All Users are selected under the View Page column. When you have entered the information, click the Update link.

Next, from the Administrator control panel, select Survey from the Module drop-down list and click the Add link.

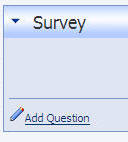
The Survey Module will now appear.

Click the Add Question link to configure the module. This link and the functionality that follows is the result of the code contained in the ".zip" package. The preceding functionality is provided by the DotNetNuke Framework.
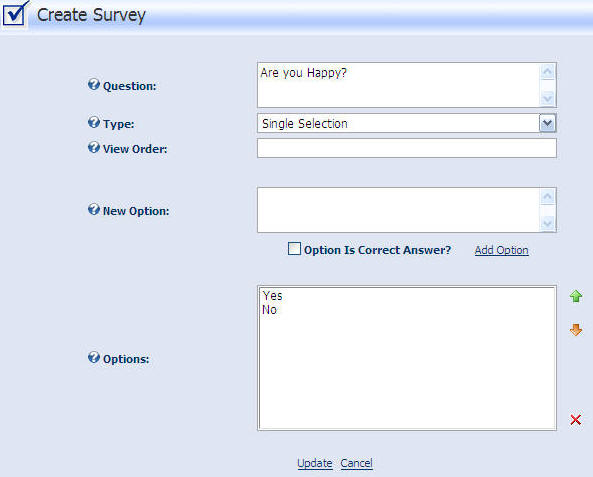
Create a question and click the Update button.

The module will now display.
